Skip to main content
search
Menu
About
Brochure Download
Our Mission
The Team
Video: A Story of True Sportsmanship
Chapters
The Kids
News
Apply
Apply Online
Liability Release
Photo Release
Donate
Contact
search
Close Search
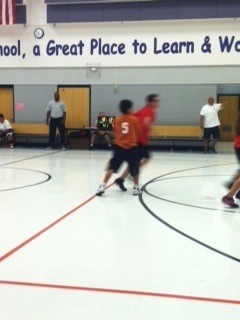
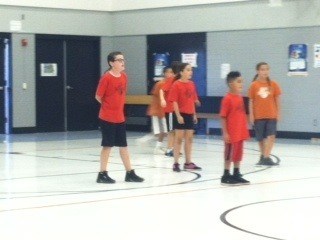
Tyler playing Basketball
By
Tav
June 26, 2014
Sports
No Comments
Share
Tweet
Share
Pin
Close Menu
About
Brochure Download
Our Mission
The Team
Video: A Story of True Sportsmanship
Chapters
The Kids
News
Apply
Apply Online
Liability Release
Photo Release
Donate
Contact